How to Bake Crispy Coconut Chicken Tenders Without Frying: Your Guide to Tropical Perfection
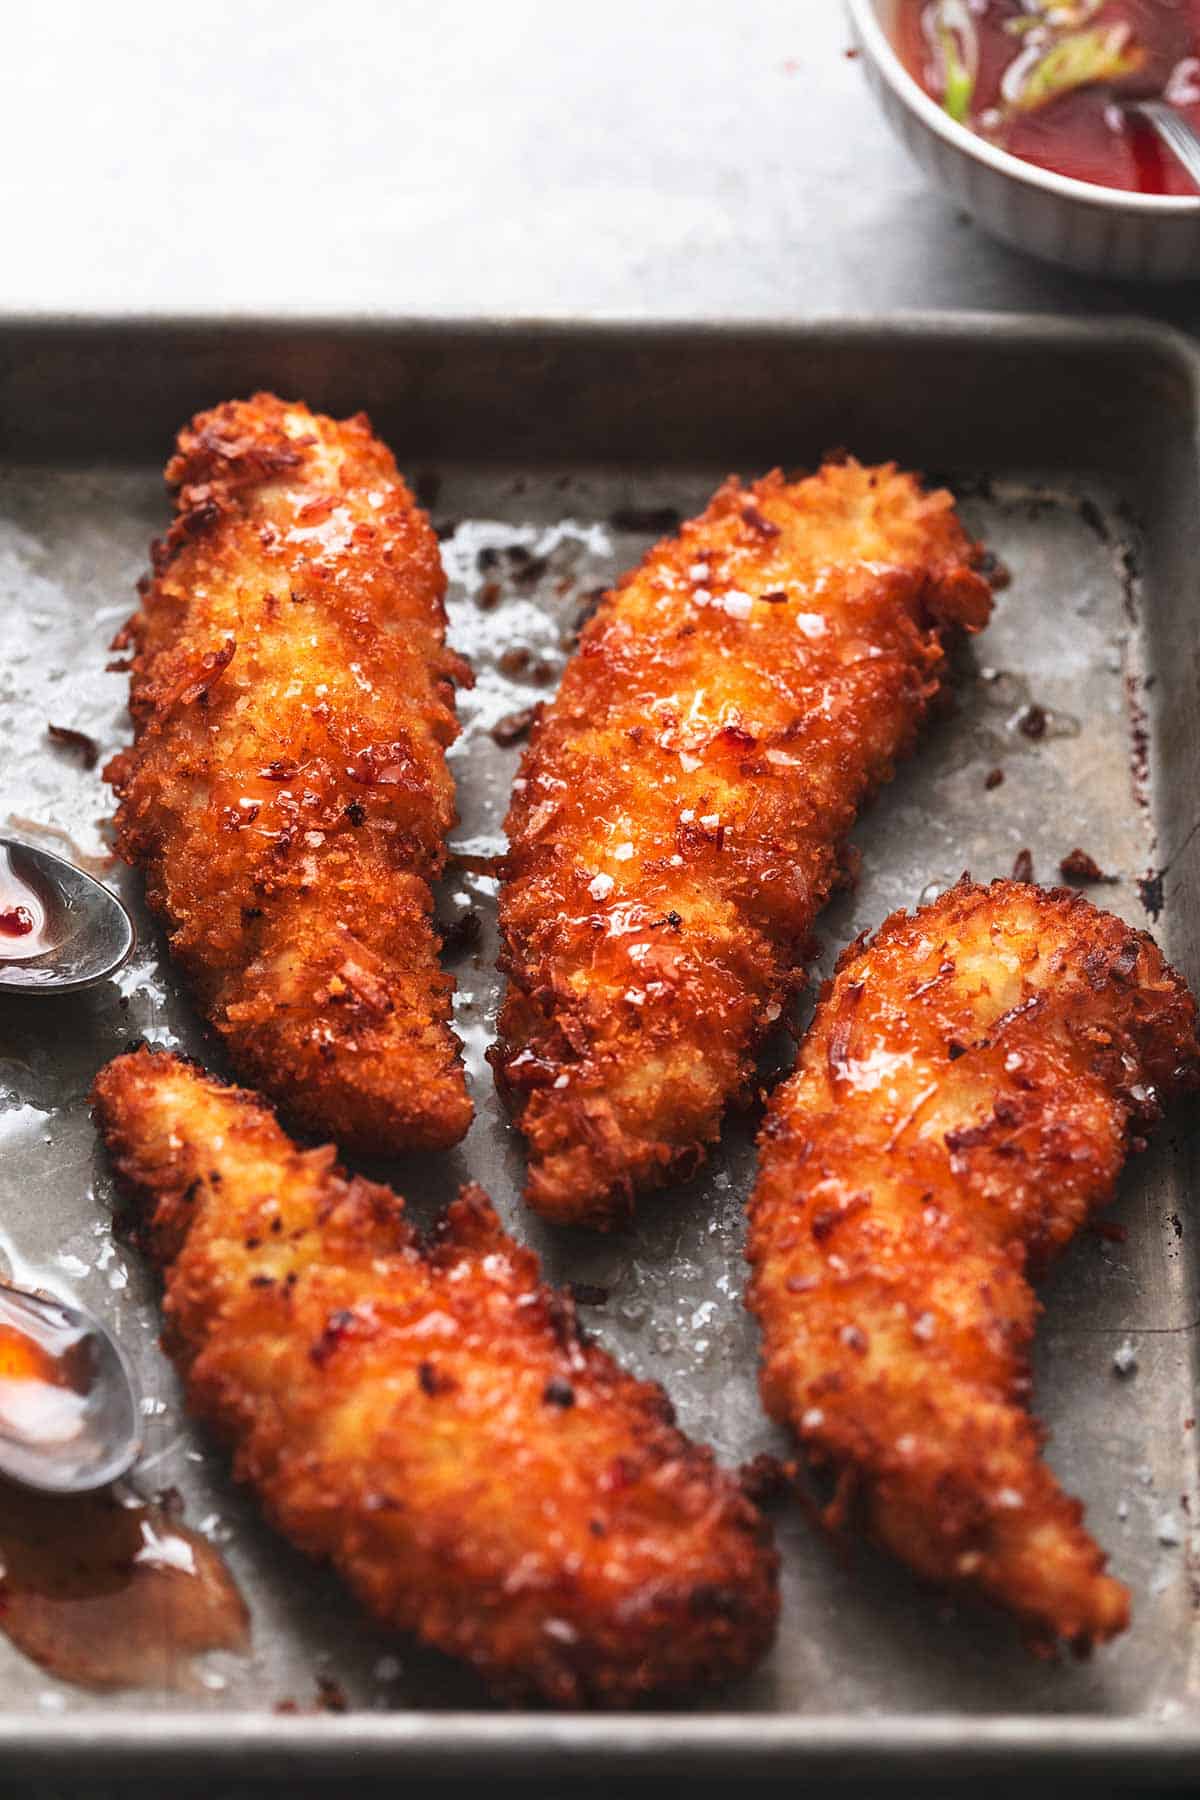
Imagine sinking your teeth into a perfectly golden, undeniably crunchy chicken tender, where every bite reveals a succulent, juicy interior infused with a whisper of tropical coconut. This isn't a dream from a deep-fryer; it's the delicious reality of homemade **crispy coconut chicken tenders**, meticulously baked to perfection. Forget the guilt, the mess, and the lingering oil smell of traditional frying. We're about to transform simple ingredients into a restaurant-quality dish that's surprisingly easy to prepare, making it ideal for busy weeknights and impressive enough for weekend entertaining.
These aren't your average chicken fingers. Our recipe for **baked coconut chicken tenders** elevates a classic comfort food with an exotic twist, promising an irresistible contrast between the crispy, golden coconut crust and the incredibly moist chicken within. This comprehensive guide will teach you the exact techniques to achieve that coveted crispy exterior without a single drop of deep-frying oil, master the coating method that keeps every flake of coconut exactly where it belongs, and unlock the secret to chicken so tender it practically melts in your mouth. Get ready to indulge in a dish that's healthy, flavorful, and guaranteed to become a family favorite.
Why Baked Coconut Chicken Tenders Are a Weeknight Winner and Crowd-Pleaser
The allure of **coconut chicken tenders** lies in their unique blend of flavors and textures, combined with the sheer convenience of a baked approach. This dish delivers everything you crave in comfort food – satisfying crunch, tender meat, and big flavor – without the common drawbacks of deep-frying.
A Healthier Indulgence
Opting for a baked method significantly reduces the fat and calorie content compared to frying, making these tenders a fantastic addition to your repertoire of **healthy dinner recipes**. You get all the flavor and satisfying crispiness without the guilt, allowing you to enjoy a dish that feels indulgent yet aligns perfectly with a balanced lifestyle. It's a smart choice for those seeking a lean protein meal that doesn't compromise on taste.
Unmatched Convenience and Cleanliness
One of the biggest advantages of baking is the minimal mess. No splattering oil, no heavy equipment, and no lingering fry-oil smell permeating your kitchen. This means less time scrubbing and more time enjoying your delicious creation. Furthermore, these tenders cook in just about 20 minutes, making them an ideal solution for those hectic evenings when you need dinner on the table fast. For more streamlined weeknight cooking, check out our
Easy Baked Coconut Chicken Tenders: Tropical Weeknight Dinner guide.
A Flavor Profile Everyone Loves
The subtle sweetness and tropical flair of unsweetened coconut combine beautifully with savory chicken, offering a sophisticated twist on a classic. Kids absolutely adore the naturally sweet notes of the coconut, while adults appreciate the elevated flavor profile. These **tropical chicken tenders** are incredibly versatile, pairing wonderfully with a range of sweet and savory dipping sauces, making them perfect for diverse palates. Whether served as a main course or a party appetizer, they consistently impress.
The Culinary Science Behind the Golden Crunch: Key Ingredients & Techniques
Achieving truly crispy **coconut chicken tenders** in the oven isn't magic; it's a careful orchestration of ingredients and techniques designed to mimic the effects of frying.
Essential Ingredients for Success
The right components are foundational to your success:
- Chicken Tenderloins: While you can slice chicken breasts into strips, tenderloins are naturally uniform in size, ensuring even cooking.
- Unsweetened Shredded Coconut: This is the star! Opt for unsweetened to control the sugar content and allow the natural coconut flavor to shine without being overly sweet. It toasts beautifully, adding texture and aroma.
- Panko Breadcrumbs: The secret weapon for superior crunch. Panko is flakier and lighter than regular breadcrumbs, absorbing less oil and creating an airy, crispier crust that rivals fried versions.
- All-Purpose Flour: Forms the crucial first layer, helping the egg wash adhere evenly.
- Eggs and Coconut Milk: The "glue" for your coating. Whisking eggs with a splash of coconut milk creates a stickier base than eggs alone, ensuring the coconut-panko blend firmly adheres. The coconut milk also adds another layer of subtle tropical flavor.
- Seasonings: Don't forget flavor! A pinch of salt, black pepper, garlic powder, onion powder, and even a touch of smoked paprika or cayenne pepper in your flour mixture will elevate the taste of your tenders.
- Cooking Oil Spray or Melted Coconut Oil: Essential for promoting browning and crispiness, even in the oven. The fat helps the coconut toast to that desirable golden hue.
The Importance of Oven Temperature and Rack Position
A high oven temperature is crucial for crispiness. Preheat your oven to a robust
425°F (220°C). More importantly, position your oven rack in the
upper third of your oven. This higher placement exposes the tenders to more direct, intense heat from the top element, which is key for developing that beautiful golden-brown color and irresistible crunch.
The Wire Rack Advantage
Do not place your coated tenders directly on a baking sheet. Instead, always use a
wire rack set over a baking sheet. This simple trick is a game-changer! It allows hot air to circulate completely around each piece of chicken, preventing soggy bottoms and ensuring even crispiness on all sides. Without a wire rack, the bottom of your tenders would steam against the hot pan, resulting in a disappointingly soft, moist crust.
Mastering the Art of the Three-Bowl Breading System for Unbeatable Crispiness
The secret to **coconut chicken tenders that stay crispy** isn't just in the baking; it starts with proper breading technique. A systematic approach ensures every tender is perfectly coated and ready for its oven transformation.
Setting Up Your Breading Station
Before you begin, ensure your chicken tenderloins are patted thoroughly dry with paper towels. Excess moisture is the enemy of crispiness!
1.
Bowl 1 (Flour): Combine all-purpose flour with your desired seasonings (salt, pepper, garlic powder, etc.).
2.
Bowl 2 (Egg Wash): Whisk together eggs with a generous splash of coconut milk until well combined.
3.
Bowl 3 (Coconut-Panko Blend): Mix the unsweetened shredded coconut and panko breadcrumbs thoroughly. This is where the magic happens!
The Breading Technique
Work with one chicken tender at a time, keeping one hand "wet" (for egg wash) and one hand "dry" (for flour and coconut-panko) to minimize mess.
1.
Flour Dredge: Dredge each tender in the seasoned flour, ensuring it's completely coated. Shake off any excess. This creates a dry surface for the egg wash to adhere to.
2.
Egg Wash Dip: Dip the floured tender into the egg and coconut milk mixture, letting any excess drip off.
3.
Coconut-Panko Press: Transfer the tender to the coconut-panko blend. Press the mixture firmly onto *all sides* of the tender, ensuring complete coverage without any gaps. The firmer you press, the better the coating will adhere during baking.
The Crucial Resting Period
Once all your tenders are coated, arrange them on a clean plate or a parchment-lined tray. Let the coated tenders
rest for at least 5 minutes (or even up to 15-20 minutes) before baking. This seemingly small step is vital: it allows the moisture from the egg wash to be absorbed by the flour and breadcrumbs, helping the coating to set and adhere better during cooking. Skipping this step can lead to coating separation and a less crispy result.
Baking Your Way to Crispy Perfection: The Final Steps
With your tenders perfectly coated and rested, it's time for the oven to work its magic.
Preheat and Prepare Your Baking Setup
Ensure your oven is fully preheated to
425°F (220°C) with the rack in the upper third position. Line a baking sheet with foil for easy cleanup, and place your wire rack directly on top. Arrange the breaded **coconut chicken tenders** on the wire rack in a single layer, ensuring there's space between each piece for optimal air circulation. Overcrowding the pan will lead to steaming, not crisping. For more expert advice on achieving the perfect crunch, refer to our guide on
Secrets to Perfectly Crispy Baked Coconut Chicken Tenders.
The Essential Oil Mist
Even though you're baking, a little fat is crucial for that beautiful golden color and ultra-crispy texture. Lightly mist the tops of the arranged tenders with cooking spray or gently brush them with melted coconut oil. Apply the oil *after* placing the tenders on the rack; this ensures an even coating and helps the coconut toast to perfection without making the coating greasy.
Bake to Golden Perfection
Bake for
18-22 minutes, or until the tenders are golden brown and cooked through. The internal temperature of the chicken should reach 165°F (74°C). If you find your tenders are not quite as golden or crispy as desired in the last few minutes, you can carefully turn on the broiler for 1-2 minutes, watching them *very* closely to prevent burning. Coconut can burn quickly under high direct heat.
Elevating Your Tenders: Serving Suggestions and Flavor Explorations
Once your **crispy coconut chicken tenders** emerge from the oven, fragrant and golden, the only thing left is to decide how to enjoy them!
Dipping Delights
These tenders are incredibly versatile and pair well with a variety of dipping sauces. Classic choices include:
- Sweet Chili Sauce: The tang and heat perfectly complement the coconut.
- Honey Mustard: A perennial favorite that kids and adults love.
- Mango Salsa: For an extra burst of tropical flavor and freshness.
- Peanut Sauce: Adds a savory, nutty depth that’s reminiscent of Thai cuisine.
- Pineapple Dipping Sauce: A simple blend of crushed pineapple, a touch of honey, and lime juice for a bright, fruity kick.
Perfect Pairings
Serve your tenders alongside:
- Fluffy Coconut Rice: To lean into the tropical theme.
- A Vibrant Green Salad: With a light vinaigrette for a refreshing contrast.
- Roasted Vegetables: Such as broccoli, bell peppers, or sweet potatoes.
- Coleslaw: For a cool, creamy side that offers a different texture.
- Fresh Fruit Salad: To enhance the tropical sweetness.
These **coconut chicken tenders** also make fantastic meal prep items. Cook a larger batch, cool them completely, and store them in an airtight container in the fridge for up to 3-4 days. Reheat in the oven or air fryer for best results, ensuring they regain their crispiness. They’re also an excellent addition to lunchboxes or as an easy appetizer for casual gatherings.
Conclusion
You now possess all the knowledge and techniques required to create incredibly **crispy coconut chicken tenders without frying**. By understanding the role of each ingredient, mastering the three-bowl breading system, and employing smart baking methods like the wire rack and high heat, you can achieve restaurant-quality results right in your own kitchen. This recipe offers a healthier, cleaner, and undeniably delicious alternative to traditional fried chicken, proving that comfort food can indeed be guilt-free and packed with exotic flavor. So, gather your ingredients, follow these steps, and prepare to delight your taste buds with a tropical twist on a beloved classic. Your kitchen (and your palate) will thank you!