Secrets to Perfectly Crispy Baked Coconut Chicken Tenders
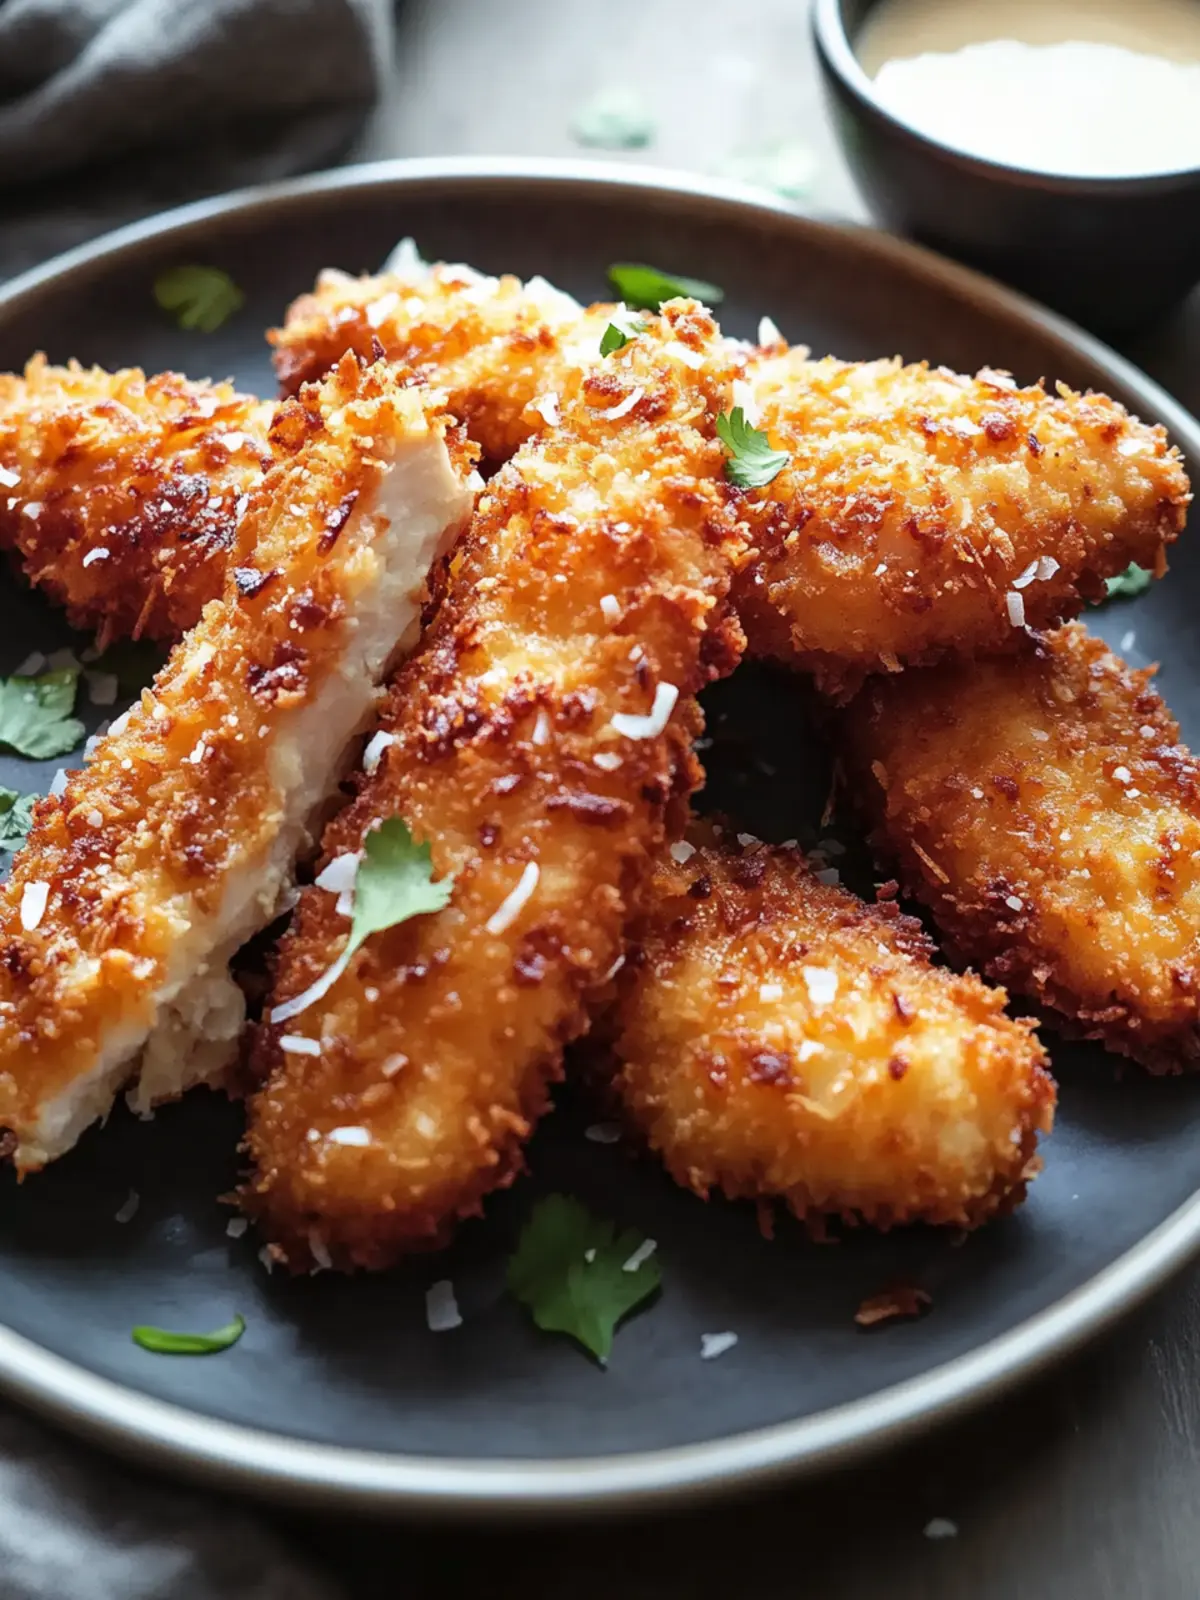
Imagine biting into a chicken tender that delivers an irresistible golden crunch with every mouthful, revealing incredibly tender, juicy chicken inside, all wrapped in a tropical coconut coating. This isn't just a dream – it's the reality of perfectly baked coconut chicken tenders. Forget the deep fryer; we're about to unlock the secrets to achieving that coveted crispy exterior and succulent interior, transforming simple ingredients into a restaurant-quality dish right in your own kitchen.
These aren't your ordinary chicken fingers. Coconut chicken tenders offer a sophisticated twist, blending subtle sweetness with savory goodness, making them a fantastic choice for a quick weeknight dinner, an impressive appetizer for guests, or even a fun, healthy meal prep option. Get ready to master the techniques that ensure your tenders are always golden, crunchy, and bursting with tropical flavor, all without the mess and guilt of traditional frying.
The Tropical Allure: Why Coconut Chicken Tenders Are a Culinary Must-Try
What sets coconut chicken tenders apart in the vast world of chicken recipes? It's the delightful fusion of textures and flavors that captivates from the very first bite. The contrast between the crispy, golden coconut crust and the succulent, moist chicken creates an addictive mouthfeel that keeps everyone coming back for more. Unlike traditional breaded tenders, the addition of coconut introduces a subtle sweetness and an exotic, tropical flair that elevates the dish beyond the everyday.
Beyond their unique taste, these baked tenders offer significant advantages. Opting for a baking method means less mess to clean up, fewer calories, and no lingering oil smell in your kitchen. This approach makes them a fantastic addition to any collection of Easy Baked Coconut Chicken Tenders: Tropical Weeknight Dinner, proving that comfort food doesn't have to come with guilt. Kids adore the naturally sweet notes of coconut, while adults appreciate the refined flavor profile, making it a crowd-pleaser across all ages. They’re forgiving to prepare, delivering consistent results whether you're a novice cook or a seasoned home chef.
The magic truly happens with the choice of ingredients: unsweetened shredded coconut provides that signature tropical flavor without overwhelming sweetness, while panko breadcrumbs are the undisputed champion for delivering that satisfying crunch that rivals any fried version. But there's another hidden hero: coconut milk in the egg wash. This isn't just for adding more coconut flavor; it creates a stickier base that helps the entire coating adhere securely to the chicken during baking, ensuring every tender is perfectly wrapped in its golden armor.
Mastering the Crispy Coating: The Art of the Three-Bowl Breading System
The secret to coconut chicken tenders that stay exceptionally crispy lies in a meticulous, yet simple, breading process. This technique, often referred to as the "three-bowl system," is crucial for creating a robust coating that locks in moisture while crisping beautifully in the oven. Following these steps precisely will set you on the path to perfectly crunchy tenders.
- The Flour Base: Your first bowl should contain all-purpose flour, seasoned lightly with salt and pepper. This initial dredge is essential. It creates a dry surface on the chicken that the wet egg mixture can cling to, acting as a crucial bridge between the chicken and its final coating. Ensure each piece of chicken is fully coated, shaking off any excess.
- The Flavorful Egg Wash: This is where your tenders get their tropical kick and their coating adhesive. In your second bowl, whisk eggs with a splash of coconut milk. The coconut milk adds an extra layer of flavor, but more importantly, its slightly thicker consistency helps create a super-sticky base for the panko-coconut mixture. This ensures every shred and crumb has something substantial to grab onto.
- The Crispy Coconut-Panko Blend: The star of the show! In your third and final bowl, combine fine or medium shredded unsweetened coconut with panko breadcrumbs. For optimal crunch, aim for a ratio of about 1:1 or slightly more panko if you prefer a less overtly coconut texture. Panko's larger, flakier crumb structure is superior to regular breadcrumbs for achieving true crispiness.
The Application Technique: After dipping a tender into the flour, then the egg wash, transfer it to the coconut-panko bowl. Here's a crucial step: press the coconut mixture firmly onto each tender. Don't be shy! Use your hands to really embed the coating, ensuring complete coverage without any gaps. This firm pressing helps the coating adhere tightly, preventing it from flaking off during baking.
The Resting Period: Once coated, place the tenders on a clean plate or a wire rack set over a baking sheet. Let them rest for at least 5-10 minutes before baking. This resting period is a game-changer; it allows the moisture from the chicken and egg wash to slightly absorb into the breading, helping the coating to set and adhere even better during cooking. This small step significantly contributes to a more stable, crispy crust. This entire process is key to How to Bake Crispy Coconut Chicken Tenders Without Frying.
The Oven's Role: Baking for Unrivaled Crunch and Golden Perfection
While the coating technique lays the groundwork, the oven's setup and operation are equally critical for transforming your breaded chicken into perfectly crispy, golden-brown coconut chicken tenders.
- Preheat & Temperature: Begin by preheating your oven to a robust 425°F (220°C). This high heat is essential for flash-cooking the exterior and ensuring a rapid crisping action before the chicken dries out. Don't rush this step; a fully preheated oven is key to consistent results.
- Optimal Rack Positioning: Position your oven rack in the upper third of your oven. This higher placement exposes the tenders to more direct heat from the top heating element, promoting superior browning and crisping on the surface.
- The Wire Rack Advantage: This is perhaps the most significant secret to preventing soggy bottoms. Instead of placing your tenders directly on a baking sheet, arrange them on a wire rack set over a baking sheet. This ingenious setup allows hot air to circulate completely around each piece of chicken, ensuring even crispiness on all sides and preventing any moisture from accumulating underneath.
- The Golden Touch (Fat): Even though you're baking, a little fat goes a long way in achieving that beautiful golden color and ultra-crispy texture. Once the tenders are arranged on the wire rack, give them a light mist of cooking spray or brush them lightly with melted coconut oil. Apply the oil after placing them on the rack for best coverage. The fat aids in the Maillard reaction (browning) and helps toast the coconut to perfection.
- Don't Overcrowd: Ensure there's adequate space between each chicken tender on the wire rack. Overcrowding can lead to steaming rather than crisping, as it restricts proper air circulation. If necessary, bake in two batches.
- Baking Time: Bake for approximately 18-22 minutes, flipping halfway through, or until the tenders are golden brown and cooked through. The internal temperature of the chicken should reach 165°F (74°C).
Beyond the Basics: Expert Tips for Your Best Baked Tenders Yet
While the core techniques outlined above are your primary tools, a few extra insights can elevate your coconut chicken tenders from great to absolutely unforgettable:
- Uniformity is Key: Ensure your chicken tenders are roughly the same size and thickness. This guarantees even cooking, preventing some pieces from drying out while others are still cooking. If using whole chicken breasts, slice them into uniform strips.
- A Quick Brine for Juiciness: For incredibly moist chicken, consider a quick brine. Submerge the chicken tenders in a solution of 1 tablespoon salt per 1 cup of water for about 15-30 minutes before breading. Pat them thoroughly dry afterwards.
- Spice It Up: Don't hesitate to add a pinch of cayenne pepper, smoked paprika, or curry powder to your flour mixture or the panko-coconut blend for an extra layer of flavor and a subtle kick.
- Perfect Dipping Pairings: The tropical notes of these tenders make them incredibly versatile for dipping sauces. Consider a homemade mango chutney, a sweet chili sauce, a zesty lime aioli, a fresh pineapple salsa, or even a classic honey mustard.
- Meal Prep & Reheating: Coconut chicken tenders make excellent meal prep! Once cooked, let them cool completely before storing them in an airtight container in the refrigerator for up to 3-4 days. To reheat and maintain crispiness, use an air fryer (375°F/190°C for 5-7 minutes) or bake them in the oven (350°F/175°C for 10-15 minutes) until heated through and re-crisped. Avoid the microwave if you want to preserve their crunch!
- Gluten-Free Alternative: For those with dietary restrictions, these tenders can easily be made gluten-free. Simply substitute the all-purpose flour with a gluten-free all-purpose flour blend or rice flour, and use gluten-free panko breadcrumbs.
Unleash the Tropical Crunch!
With these comprehensive secrets, you're now equipped to create perfectly crispy, incredibly flavorful baked coconut chicken tenders that rival any restaurant version. From mastering the multi-stage breading process with its clever coconut milk twist, to optimizing your oven for maximum crunch, every step plays a vital role in achieving that sought-after golden, crispy exterior and juicy interior. Embrace the tropical flair, savor the guilt-free indulgence, and impress your family and friends with this outstanding dish. Get ready to enjoy a culinary escape with every bite!
